

I’ve recently started developing on HubSpot, and for the most part it’s been a breeze. There is one thing I’ve recently run that’s waaaaay harder than it should be, and that’s adding an image caption to your blog post.
Wow, HubSpot has come a long way in the last 4 years, and their CMS has really matured. I’m going to keep this blog post live just for fun, but its content is largely irrelevant.
It’s not too big of a deal if you’re centering the image in the middle of the post – you can just style the text under it to be center-aligned and maybe decrease the font size.
 Here’s an example of a caption for a center-aligned photo in the middle of the post. Not too bad, right? Although if you write too much it does exceed the width of the image, which I don’t love.
Where it gets kind of funky is when you want to right or left-align the photo and have a caption underneath it. For instance, if you’re writing about some accomplishments that a person has achieved and you want to include their mug-shot and name halfway down the post, it’s pretty tricky.
There’s not a good way to add this caption below the image, which for some businesses can be a real pain point. I guess you could have the caption off to the side but that feels a little weird.
Sure, another option is you can create a two row table and have the image in the first row and the caption in the bottom row top and the caption down below, but that requires a couple extra steps. While I might not mind taking a little extra time to do this on my site, if you build sites for clients like I do, those extra steps can be the difference between a good experience and a lacking experience. However, this solution isn’t foolproof either. Even when we go through the extra hassle of using a table, we still run into some limitations pretty quickly, as you can see below with a right-aligned image using a table.
|
| Here’s using a table for the image and caption, but as you can see, it doesn’t look great, and the text doesn’t wrap. We still need to add some styling, which for a non-technical user is a problem. I don’t want to hit enter to create a line break because, as the browser size gets smaller, it could start to look really weird as the break point changes. I digress. |
You can resize the table by dragging and dropping, but it really only looks good left aligned and still doesn’t address the fact that the text doesn’t wrap around the image, creating a good deal of awkward white space.
|
| Here’s my image caption. As you can see, I’ve resized the table and it looks decent other than the text not wrapping. |
After scouring the internet for a good workaround, I discovered that there wasn’t really one. So I started looking into dynamically creating the caption and placing it underneath the photo using jQuery. There’s not a good way to have the user select when to do this, so this solution makes the assumption that every right or left aligned image will have a caption. If you need to only add the caption on occasion, then this solution probably isn’t for you.
Since HubSpot just spits the image out on the page with some inline styling, we need to first find any images that are placed within the body of the post. If there are any images, and if those images have an alt text, we’re going to create a container for both the image and the caption, style it based on the HubSpot generated styles and then display the alt text as the caption.
This is kind of a hack and I don’t love using Javascript to handle content, but if you or your editors don’t want to fool with creating a table it will work. Ideally, HubSpot will create a caption field before too long that will take care of this hack and we will all rejoice.
If you don’t consider yourself a technical user, I’ll walk you through finding the template and editing it. If you know your way around the Design Tools, skip this section and scroll down to the code at the bottom.
The easiest way to edit your template is to browse to an article that is published and click the HubSpot Menu in the top right of the page. You want to click the link Edit Post Template. You may have to hunt around a little bit but on that page you should see something that looks like this:
 Click on that and a sidebar should appear on the right. Scroll down until you see the button to edit the Post Template.
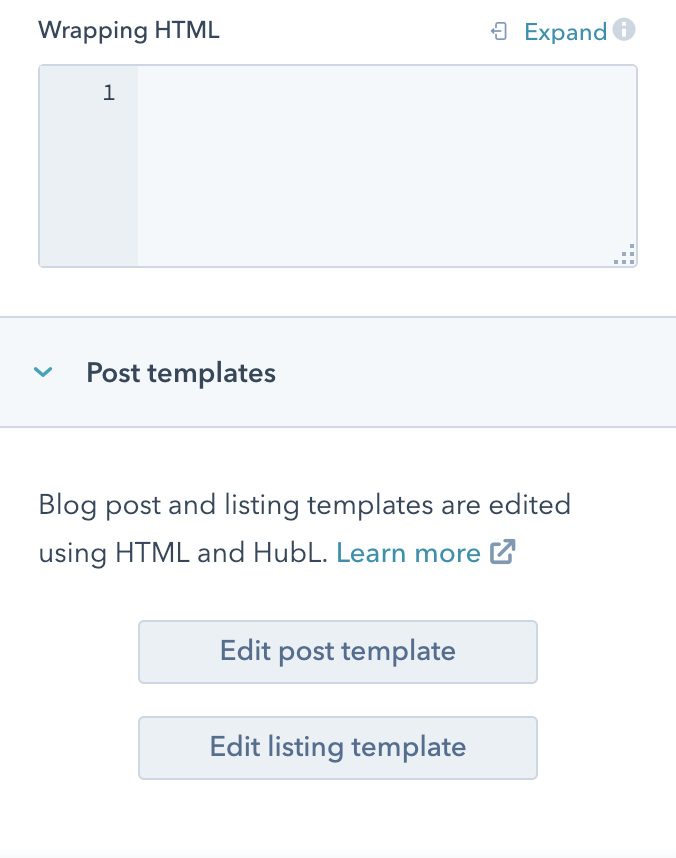
Hit Command (or Control on Windows) +F and search for {% raw %}{{ content.post_body }}{% endraw %}. You want to wrap that in a div with a class “article-wrap”. So replace
{% raw %}{{ content.post_body }}{% endraw %}
with
<div class=”article-wrap”>{% raw %}{{ content.post_body }}{% endraw %}</div>.
Next we want to add a javascript file that actually does the work.
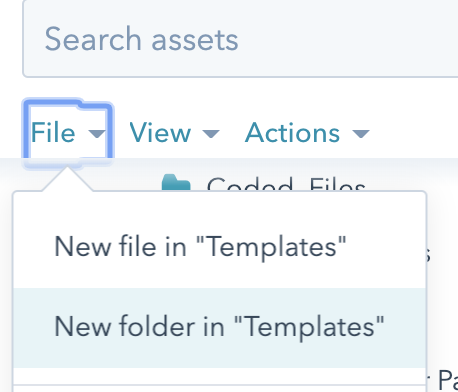
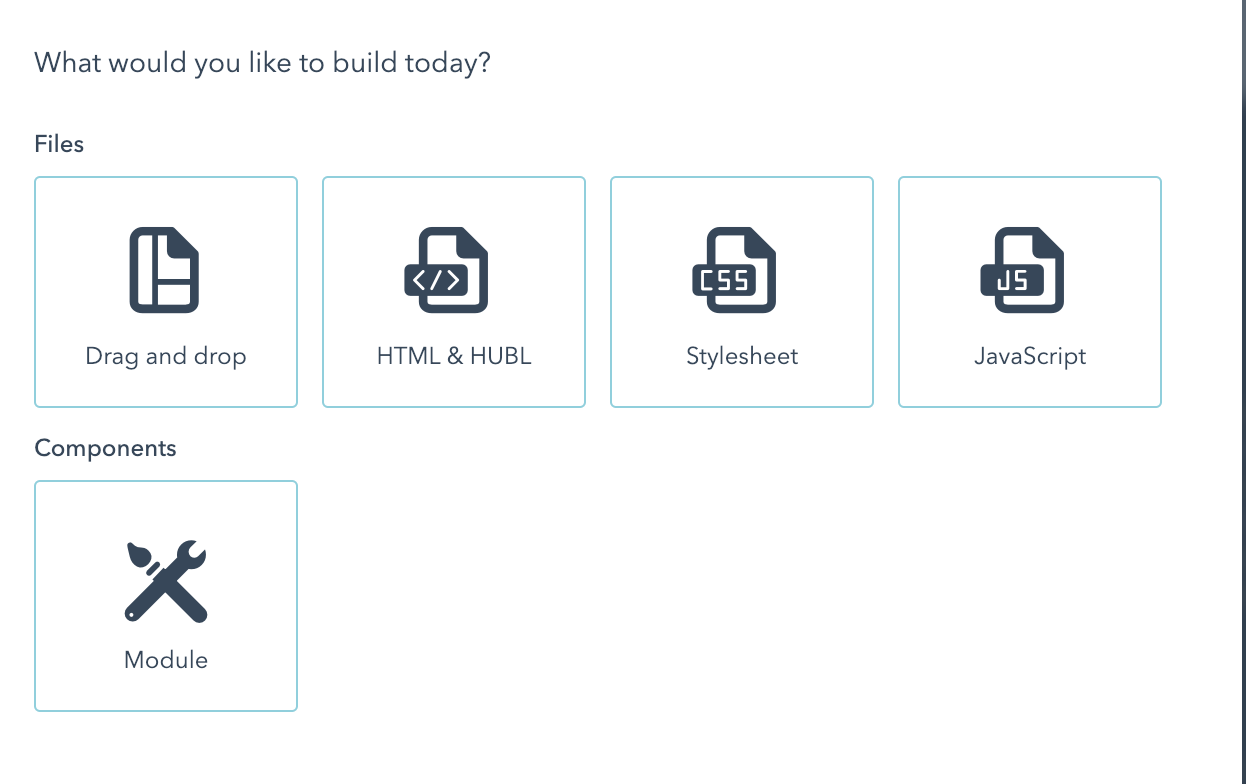
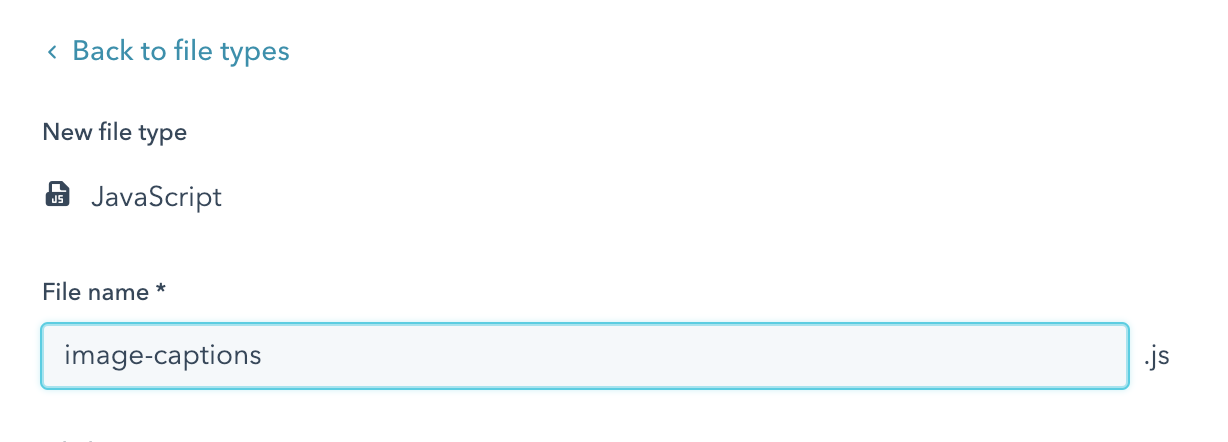
On the left side of the screen, click New, then New File in [whatever the name of your folder is], select Javascript and name your file. Here are some screenshots to help.
This is what my javascript file looks like, along with comments explaining what we’re doing.
//we first want to determine if there are any images in our post. The .length method will return false if there are none and the code will not run.
if ($('.article-wrap img').length) {

  // If there is more than one image, we want to loop through them and ad d the captions
  $.each($('.article-wrap img'), function(e) {

    // Let's store the alt text as a variable so it's easier to use later
    var altText = $(this).attr('alt');

    // We don't want to ask the browser to do any work that it doesn't have to. If the alt text is empty, it'll return false and the rest of the code will not run.
    if (altText.length > 0) {

      //If there is an alt text, then we want to build out the image element and store it in a variable
      var imageHTML = '<img src="' + $(this).prop('src') + '" alt="' + altText + '" style="width:100%;">';

      // Next we want to determine if the image is aligned right or left.
      // First we'll check to see if it's left-aligned
      if ($(this).css('float') == "left") {

        //If it's left-aligned, we'll create the container for both the image and the caption. I created a new image tag, although you could also update the attributes and just move it if you wanted. I thought it would be easier to just create a new one. If HubSpot changes something in their styling down the road, it won't throw me for any loops.
        //We're going to make the entire container float left with inline styling, then add the image element, a line break, and a span with styling for the caption.
        $(this).after('<div style="float:left; width:300px; max-width:100%; margin: 0 10px 10px 0;">' + imageHTML + '<br/>' + '<span style="font-size:.9rem; font-weight:800;">' + altText + '</span></div>');

        //Since we've recreated the image, we're going to remove the original.
        $(this).remove();

      // Now we'll do a very similar thing if it's right-aligned.
      } else if ($(this).css('float') == "right") {
        $(this).after('<div style="float:right; width: 300px; max-width:100%; margin: 0 0 10px 10px;">' + imageHTML + '<br/>' + '<div style="font-size:.9rem; font-weight:800;">' + altText + '</div></div>');
        $(this).remove();

      // I wanted to go ahead and add a caption if it's center-aligned. If you don't select an alignment, I'm also going to have it default to center-aligned. While you don't have to do this, it does take care of that original issue of the caption being wider than the image when you're looking at it on a desktop.
      } else {
        $(this).after('<div style="margin: 0px auto 10px auto; width: 600px; max-width:100%;">' + imageHTML + '<br/>' + '<div style="font-size:.9rem; font-weight:800;">' + altText + '</div></div>');
        $(this).remove();
      }
    }
  });
}
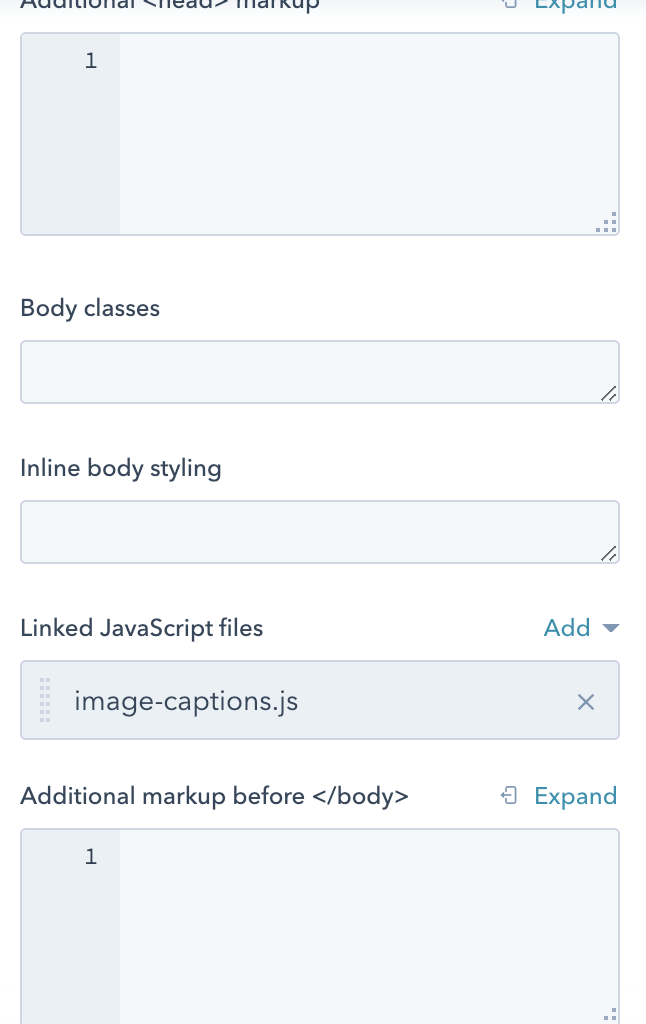
Don’t forget to link to your javascript file in your template, like so:
And voila! If you’ve followed the steps correctly, your caption should be dynamically created and positioned as you would expect. Let’s test it out. To the left should be a left-aligned image and the caption should be generated from the alt text with no additional work on my end.
And if we were to do the same thing with a right-aligned image, we should get the same result. Let’s try it:
Hopefully, it’s looking good, and both the image and caption are showing right-aligned.
While this isn’t a perfect solution, I think it works okay until HubSpot offers a good and easy way to add captions. In the comments, let me know if this solution is helpful for you or if you have run across any better solutions.
Thanks, and happy HubSpotting!